pic. 1
pic. 2
Introduction:
For my portfolio, I focused of exploring front-end development and working in a version control environment. This involved writing the code using HTML, CSS and JavaScript as well as pusing my code in Git.
What did I do:
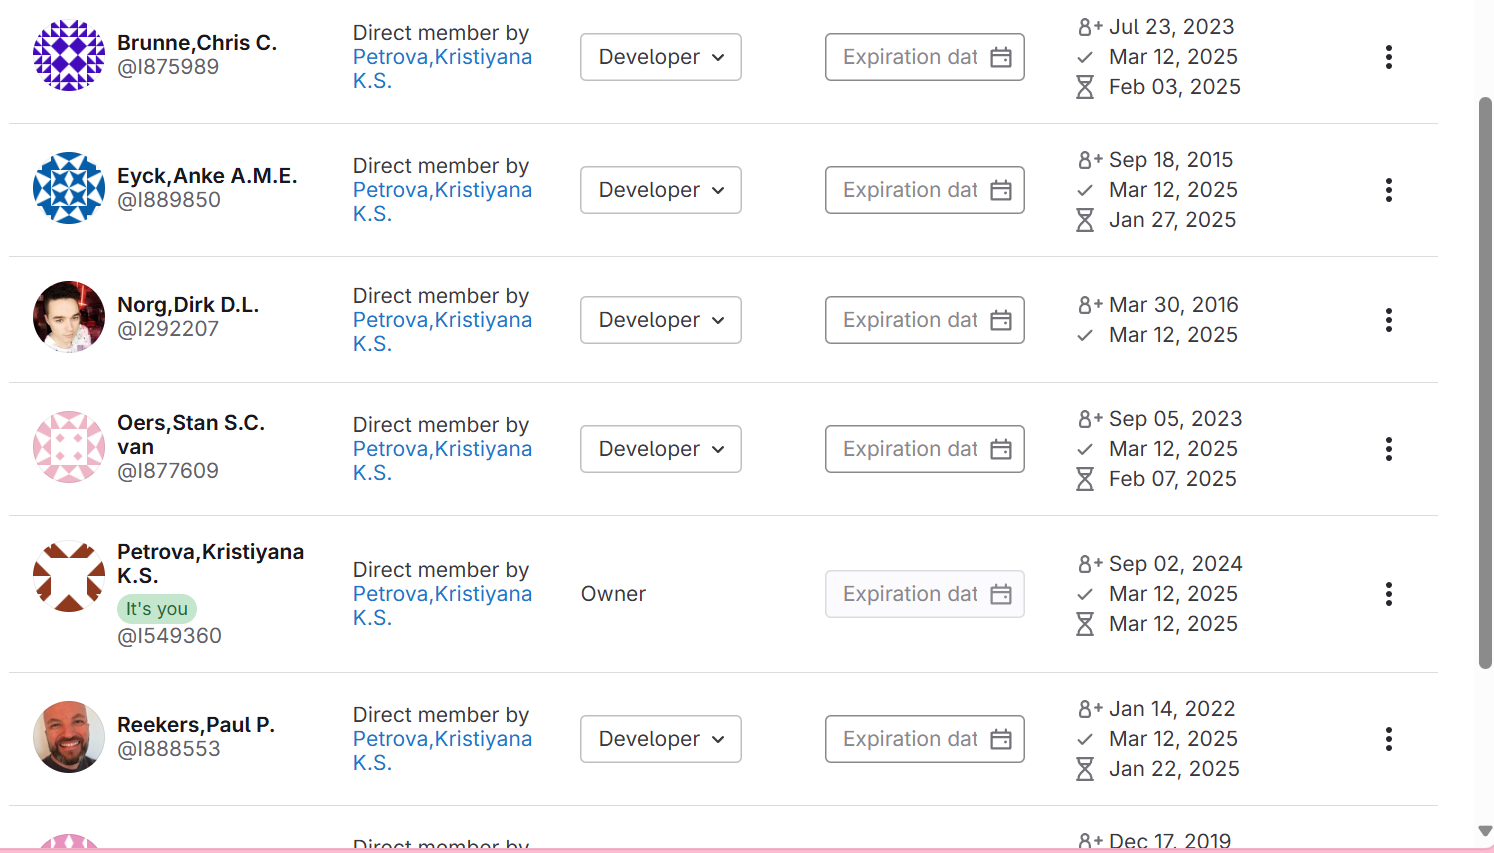
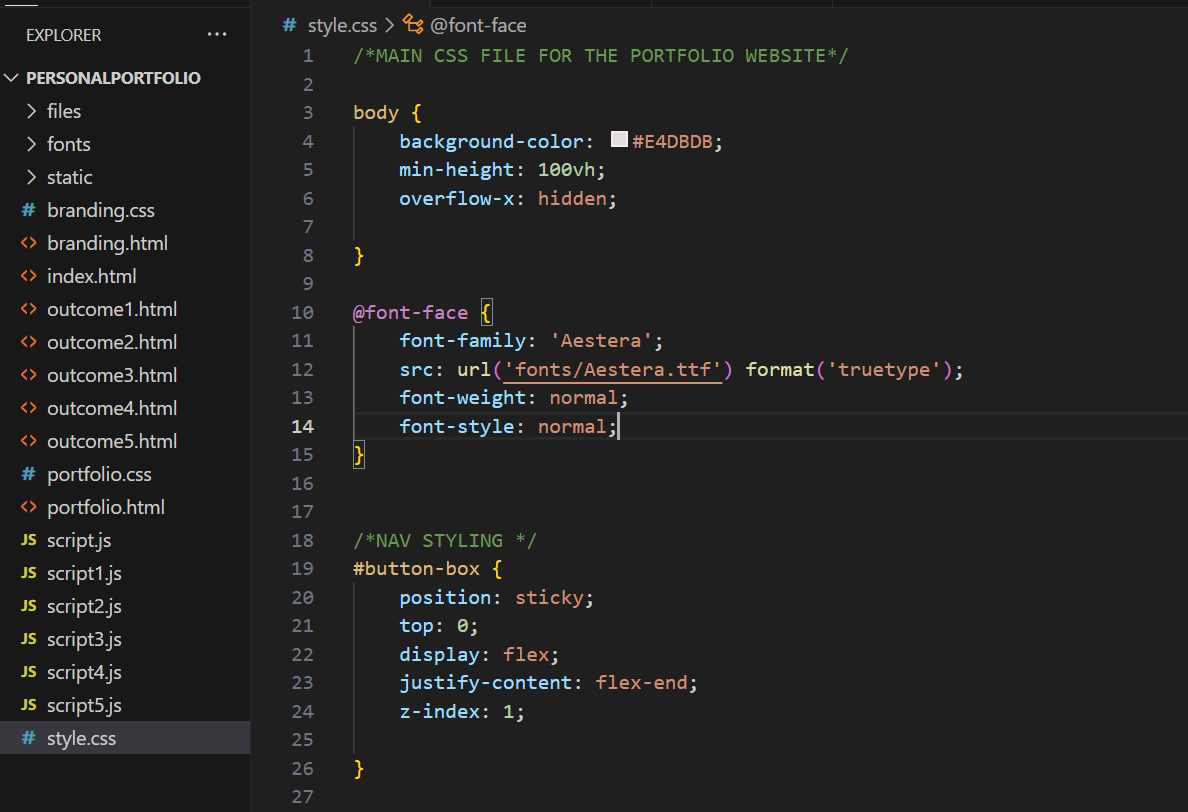
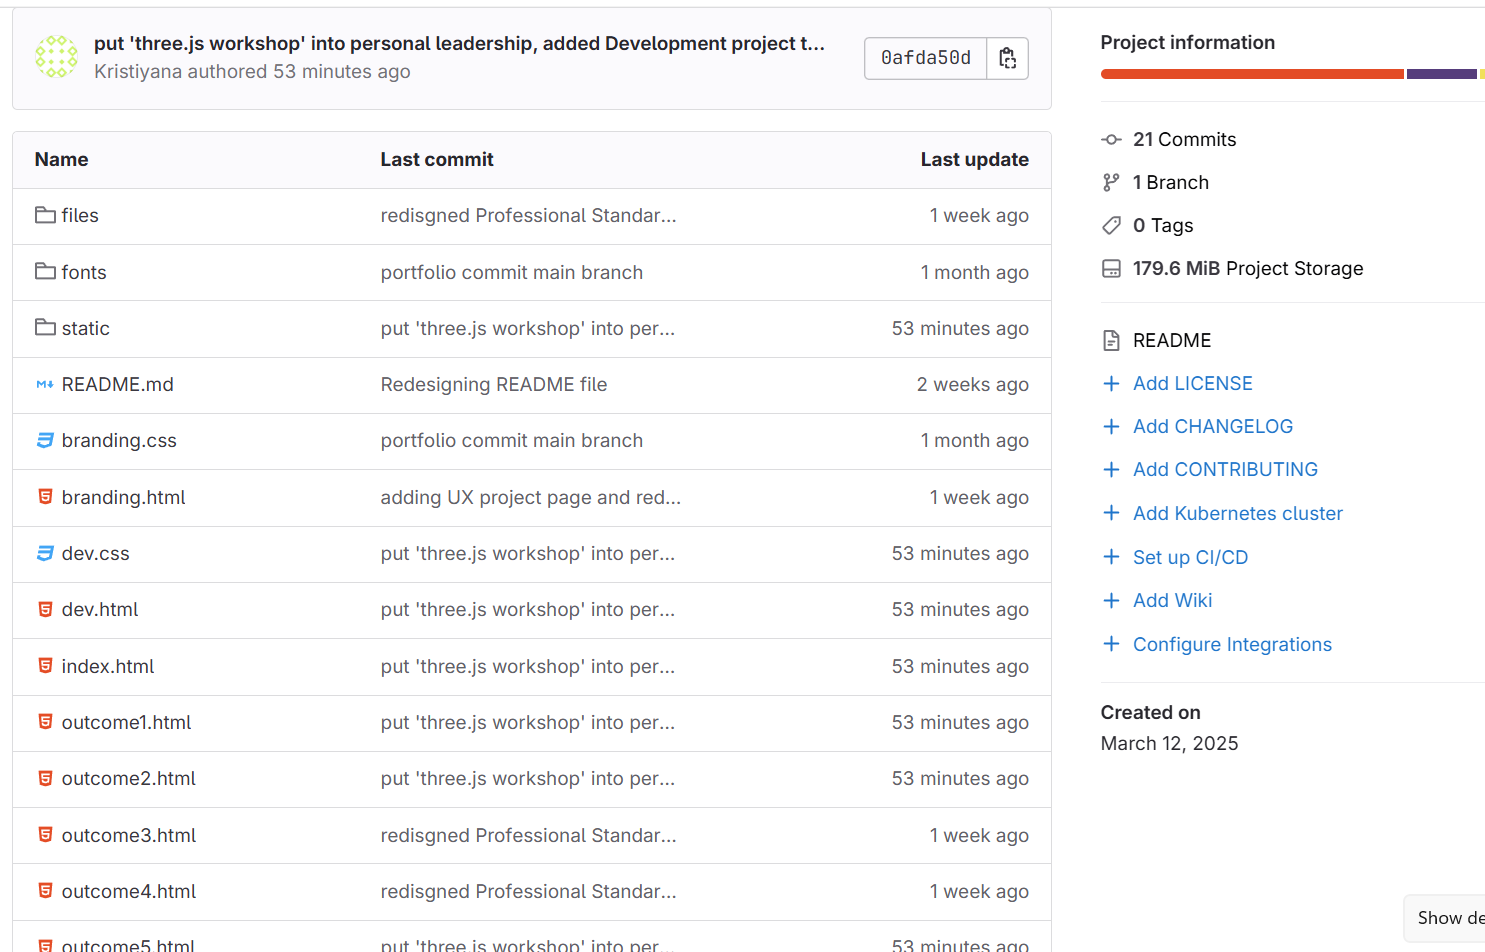
After being done with the prototype of my portfolio, I began coding it. After one of my lectures about Flexbox, where our teacher showed us different ways to use flex, I got inspired to use it and I structured all of my pages and elements with flexbox. I also implemented animation I made in GIF format and then coded it’s movement using tutorials for help.In terms of version control, I created a git repository and invited my teachers to view it.-(pic. 1) I also added a README file where I explained the purpose of the project and how it’s structured so it is easier to understand. While coding, I wrote comments in the CSS so it’s easier and clearer to divide the styling of the different sections.-(pic. 2) also created different folds for the images, fonts and the PDF files.
How did it go:
Overall, the process went smoothly, I made some mistakes with the layout but the feedback from my teacher helped me make improvements and deliver a visually engaging and functional website.
What I learned:
I received a constant feedback from my teachers and sometimes from my classmates during the development. The feedback gave me an idea of how to improve certain parts of the code and the layout, and after every feedback I implemented the needed changes. Asking others for their opinion, helped me fix my website early in the development so I can present an improved end-product.
Reflection:
During the rest of the development process, I would try to commit more often, with more frequent changes so I can track better my progress. For the future, I am also planning to explore more Git since, I don’t have a lot of previous experience in it.
Introduction:
On the development part of my project, I focused on adding animations to make my portfolio feel more interactive.
What did I do:
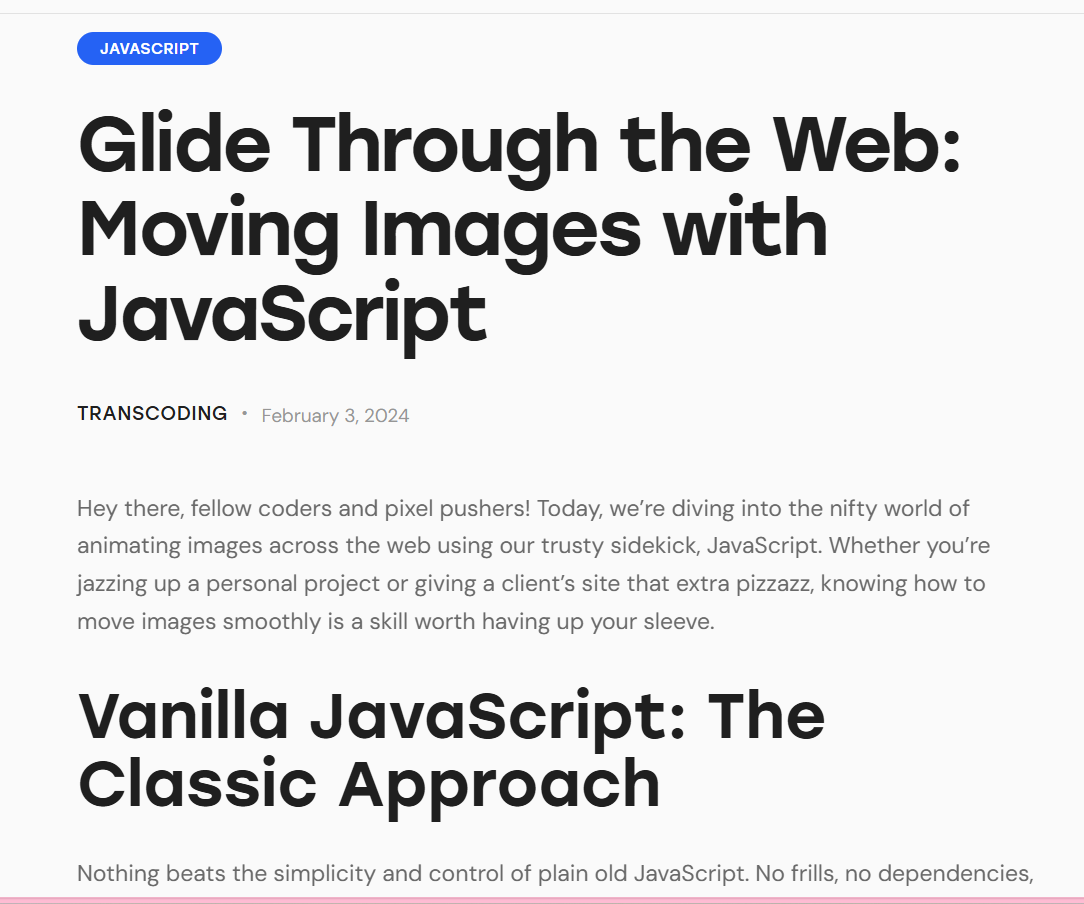
The main feature I wanted to implement was the flying moth animation. After making a GIF, I had to think of a way to implement it in my website. My idea was the moth to be moving diagonally as the user scrolls down the page. To make this happen, I started searching through different websites, YouTube tutorials and StackOverflow posts where I saw some examples of similar implementations. Eventually, I found a website- Transcoding which had a code example plus explanations that matched what I wanted.
How did it go:
Although the code I found was helpful, some issues still occurred- I couldn’t make the moth move vertically as I expected it to move. After multiple attempts to fix the issue by myself, I decided to ask a teacher for help. With his help, the code was fixed and he also explained to me what the problem was. After fixing the animation, I broke down the code on smaller parts so I can understand each line fully This helped me buled confidence to write the rest of the JavaScript animations myself.
What I learned:
Through this process, I learned how to research and apply JavaScript code to create interactive animations. I gained deeper understanding of how scroll-triggered animations work and how to fix issues with my script. I also learned how useful it is to break down existing and working code so to understand better the logic behind it.
Reflection:
In the future, I plan to use JavaScript more often and to experiment with new features and techniques to make my projects more creative and to gain new skills. I also want to challenge myself to try harder to fix bugs on my own before asking for help so I can both improve my problem-solving skills and become more confident in debugging.
pic. 1

pic. 2
Introduction:
After the second formative assessment, I got feedback from my teachers that my README file is not structured well and its lacking information.
What did I do:
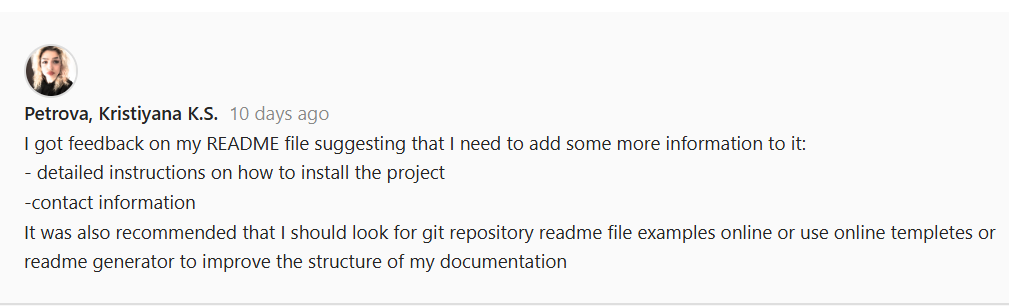
I started editing it and added more information about what each page includes. But my problem was that I still had no idea what is the correct way of writing a README file so my document only included a quick description of the project, list of features and technologies I used. After showing it for feedback to my teacher, he explained to me that my way of writing is wrong.-(pic. 1) He said that a good README file is important to guide the users through installing the project and include contacts information. He also gave me helpful example by showing me where I can find templates for a well-written README file, which I can use to write my own file. Based on his tips, I decided to use a template and started restructuring the file by adding several key sections – a table of content, installation instruction, a breakdown of how my pages are devided, project structure, credits and contact information. Then I showed it for a final feedback and this time my teacher was satisfied with my README file. -(pic. 2)
How did it go:
The whole process was very useful- by comparing my file with professional examples, I could clearly see what my original version was lacking. The new README I wrote is much more better structured and complete.
What I learned:
I learned how to write a well-structured and full of information README. I gained insights on how important proper documentation is to ensure that others can understand, work and install with your code without confusion and difficulties.
Reflection:
In the future, I will give more attention to the documentation part of my work from the beginning.I think being able to write a good README file shows professionalism and responsibility as a developer.
Introduction:
On my previous formative assessment, I received a feedback that I need to improve how I use Git- especially when it comes to pushing more often the changes I make.
What did I do:
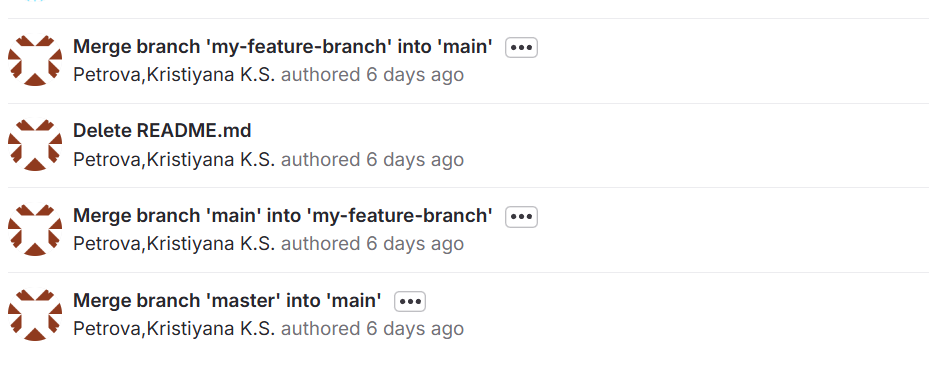
Based on this feedback, I focused on pushing in Git more regularly. I started pushing in Git every time I work on my portfolio and finish with my work for the day. I also improved the way I write commit messages- I try to describe what I did in a more detailed way.
How did it go:
At first it was hard for me to remember to push in Git every time I work on my portfolio, but with that time it became a normal part of my work process.
What I learned:
Pushing often in Git helped me keep a better track on my progress. Before I was kind of scared of pushing in Git because I was afraid of making a merge conflict. Now I definitely feel more confident when it comes to doing it.
Reflection:
The experience made me not only more confident but also it helped me to stay organized and work more professionally. In my future project, I would keep with the regular commits.

pic. 1

pic. 2

pic. 3

pic. 4
Introduction:
During the Development project, I encountered a Git-related issue while helping my teammate push her files to our shared repository. I had to deal with a merge conflict and this helped me understand how version control systems work in a real team environment.
What did I do:
I was helping my teammate to push her files in git but when she tried pushing her files it didn’t let her. I then tried pushing her files again from the terminal but the same mistake appeared again. I send the error message from the terminal to Chat GPT to understand what happened and why her files cannot be pushed. -(pic. 1) The chat explained that when instead of pushing into the main branch we by mistake were pushing into a personal brach that already has files in it. This caused a merge conflict as Git was trying to prevent from overwriting information. The chat suggested that either the conflict should be resolved or to force pushing. -(pic. 2) To avoid damaging the files or making the issue worse, I decided not to force a merge or try to resolve the conflict directly an to abort the command. I created another folder for my teammates VScode files and placed them there. Then from the terminal in VScode, I cloned the repository. After pulling my own branch I used the command git checkout -b to create a new branch for my teammates work and to switched to it. -(pic. 3)From there I committed the changes and pushed her files successfully.-(pic. 4)
How did it go:
I am satisfied that I managed to identify the issue and then to fix it. By creating a separate branch and keeping each person’s work isolated, we avoided any accidental file loss or overwriting. My teammate’s work was added to the repository without further issues, and we were able to continue working on the project.
What I learned:
Through this experience, I learned the importance of properly managing branches in Git and how merge conflicts occur when multiple people work on the same files or branches incorrectly. I also learned how to safely handle such situations. Additionally, I became more confident in using Git commands.
Reflection:
This experience taught me how essential version control is when working in teams and how easily things can go wrong if it’s not handled properly. I'm glad I took the time to understand the issue instead of rushing into a solution that might have created more problems. Moving forward, I will be more careful when pushing and pulling in group projects, and I’ll make sure that branch structures are clearly defined. It was a stressful situation at first, but solving it gave me valuable experience in using Git.
Introduction:
In our Development project, my teammate and I had to work together in the same GitHub repository.That’s why I wanted to make sure we avoided any merge conflicts and kept our work organized.
What did I do:
To ensure that, I created separate Git branches for each of us to work in. This way, we could develop different parts of the project without overwriting each other's code. After finishing with the base of my part of the code, I created a branch and added my work there. When my teammate was done with her part of the code I explained to her and helped her to create a branch for her work. Once we were both finished with our parts of the website, I merged the branches back into the main one.
How did it go:
This was my first time ever working with branches. Using them, made the collaboration clearer and gave us more flexibility in how we structured our tasks. When I had to combine our branches into one, the merging process was successful and without any conflicts.
What I learned:
Through this task, I learned the importance of using branches when working in a team. The process also helped me learn new skills in Git which would be very useful in the future- I learned how to create branches and t how merging them in git works.
Reflection:
This experience helped me understand why group work rely heavily on version control. Using this Git feature ensured more safe work and also made me more confident in working in a same git repository with other people. From now on, I would definitely always use branches when working on shared repository.
pic. 1
pic. 2
Introduction:
During the development of my Project X, I worked with a completely new language Three.js. Because I had never used it before, I wanted to make sure that I wasn’t just blindly following tutorials, but actually learning how the code worked and building a deeper understanding of the language and the logic behind it.
What did I do:
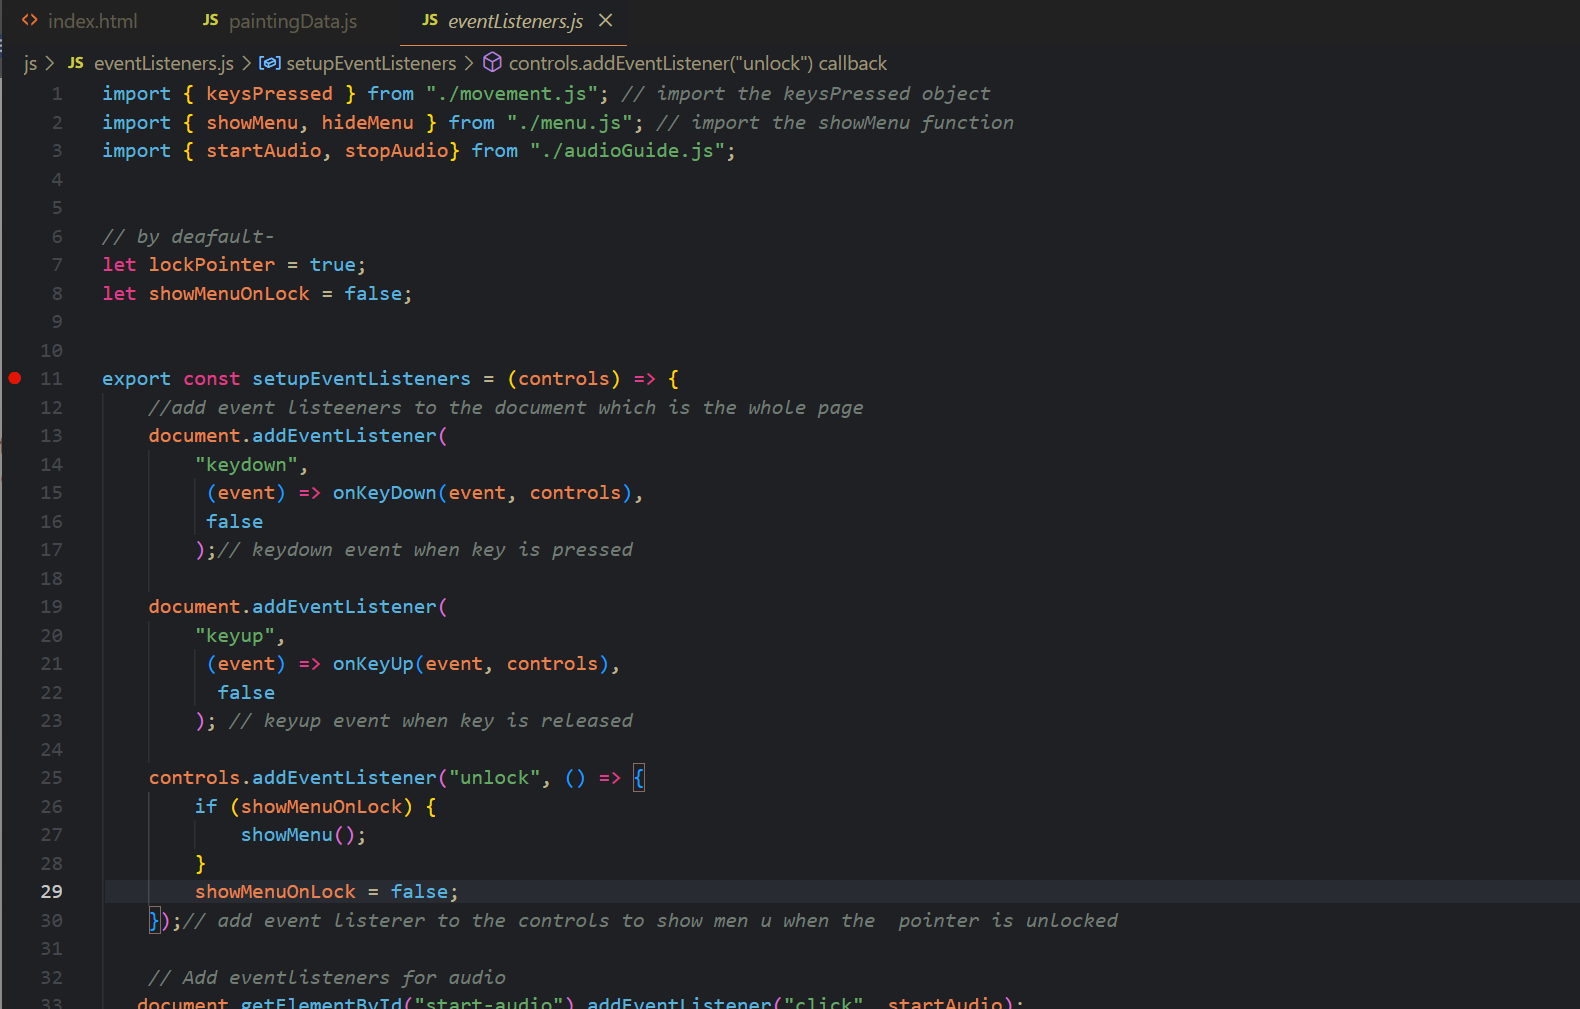
I decided to write comments in my code explaining every line that is new and unfamiliar for me. I followed a YouTube tutorial to build the virtual gallery, and as I wrote each piece of code, I added detailed comments next to it describing what it does. This included things like setting up the Three.js scene, adding lighting, importing textures, and positioning objects. I wanted to explain the code in my own words so I have a better understanding of it.make the logic behind it clearer.
How did it go:
Adding comments as I coded turned out to be very helpful. It made me to slow down and think about what I was actually writing, which helped me better understand how Three.js works. I didn’t want to just copy and paste code without understanding it—writing comments helped me actively learn. Later, when I encountered bugs or errors, the comments made it much easier to track down the problem and fix it, since I already had explanations written down for each part of the script. It also made it easier to restructure or change specific functions without getting lost in the code.
What I learnt:
Through this experience, I learned how valuable it is to document your code while you work. Not only did it help me personally with understanding a new programming language, but it also made my code much more readable and maintainable. I realized that this is also important from a professional point of view - if someone else needs to read my code the comments will make it easier for them to follow up.
Reflection:
Looking back, writing detailed comments was one of the best decisions I made during this project. It supported both my learning and my workflow, and I now see documentation as an important part of coding, especially when working with new tools. I will definitely continue this habit in future projects—not only to help myself, but to ensure that my code is clear, organized, and easy to understand for others as well.
Introduction:
After completing the initial version of my virtual gallery for Project X, I decided to refactor my code.
What did I do:
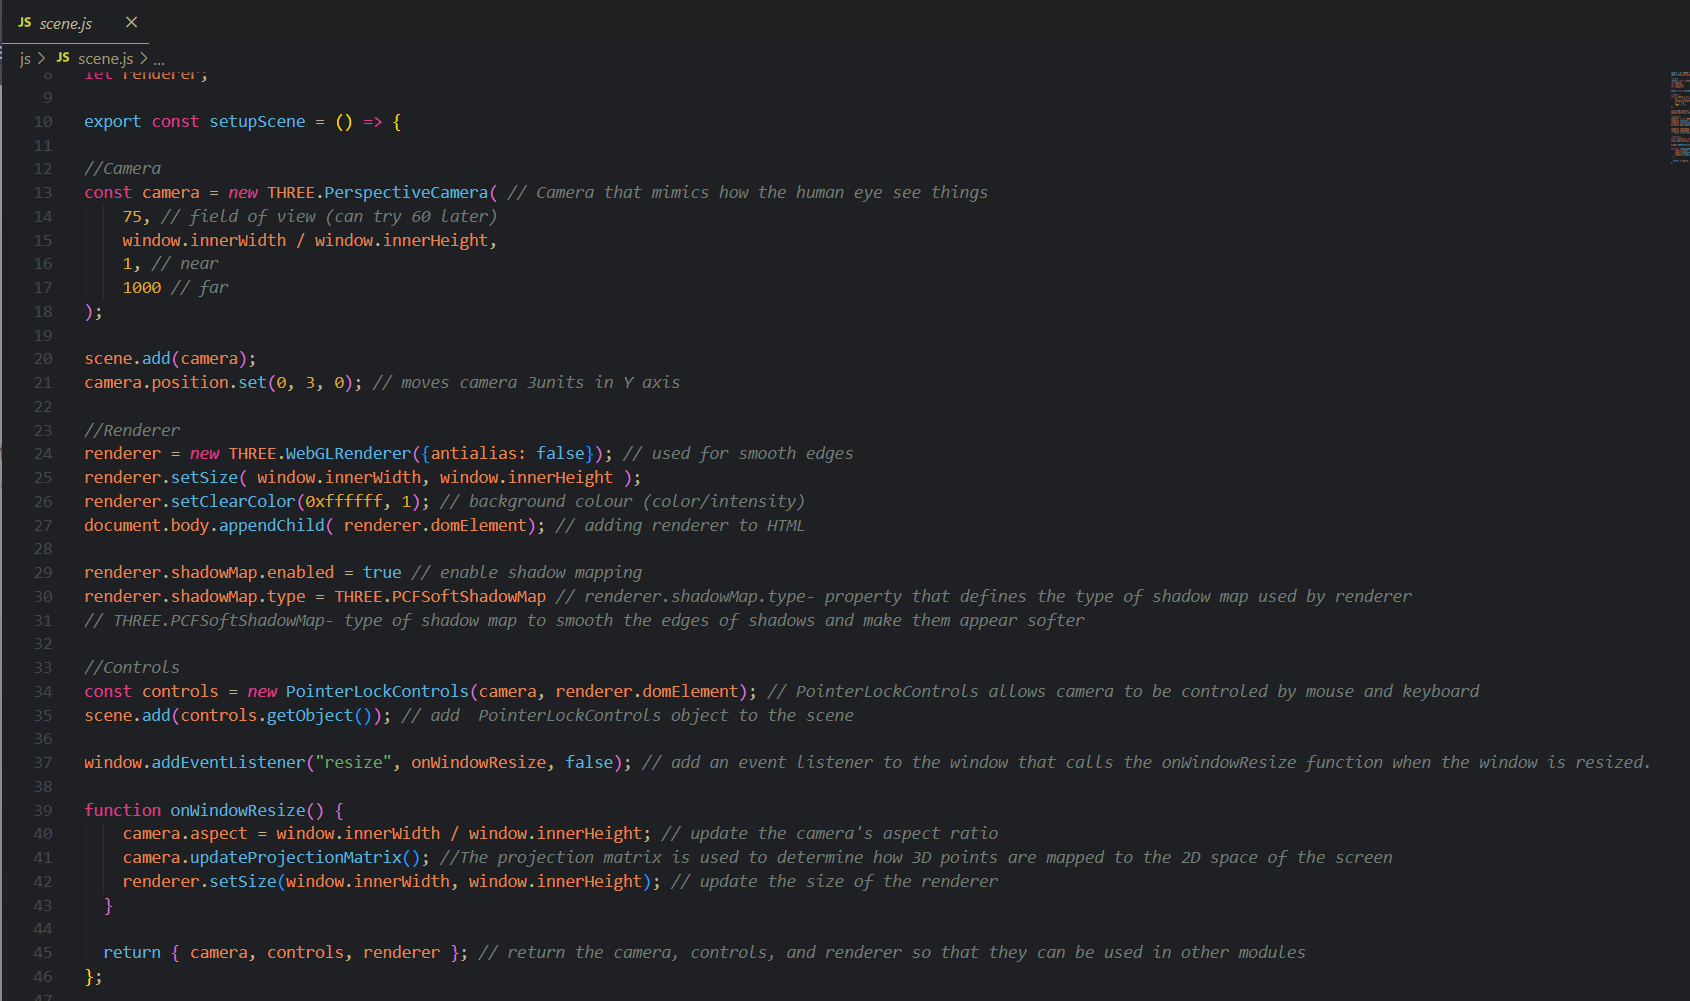
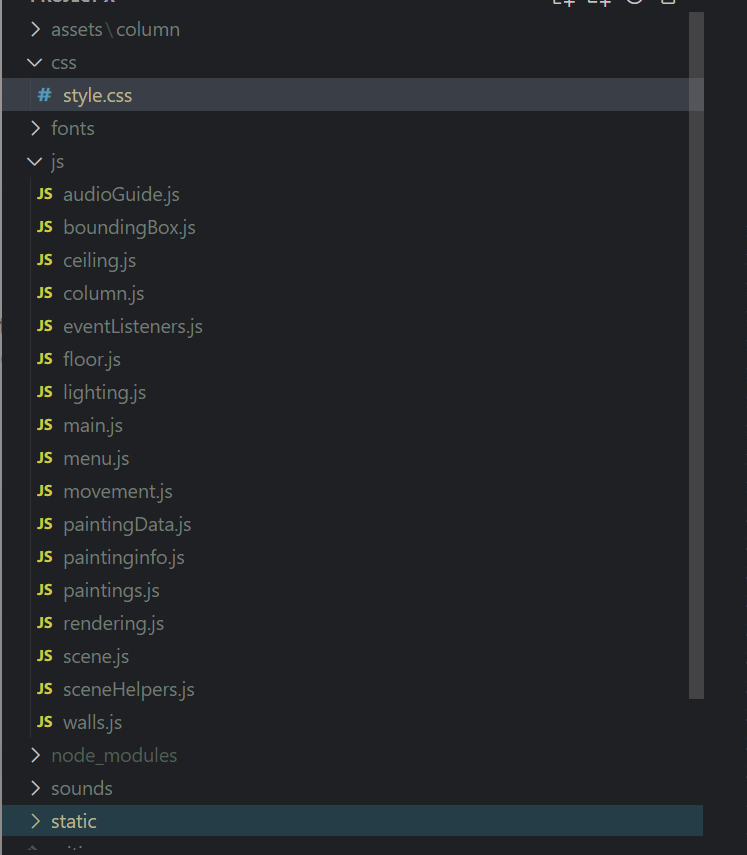
Initially, all part of my code were in the same main.js file, which made everything messy, hard to navigate to and it was taking a lot of time to find something if needed. That’s why I decided to refactor my entire codebase. This meant separating the different parts of the project into their own files — lighting, walls, floor, and ceiling, painting setup and so on. This way, the code became easier to understand.
How did it go:
Honestly, it was not an easy process. Refactoring took a lot of time and effort, and I ran into so many errors and unexpected bugs in the console while trying to split things into different files. Some parts stopped working entirely at first, and it took a lot of energy to fix them.In the end, my code became much more organized, and I could clearly see how every part of the gallery functioned. If I wanted to make a change, for example adjusting the lighting or updating the way paintings are displayed - I knew exactly where to go.
What did I learn:
Through this process, I learned a completely new skill- how to refactor and structure a larger project properly. Before this, I didn’t realize how clean code was. Now, I understand how essential it is especially when working with Three.js, where things can get complex quickly. Writing clear, separate files also helped me understand the code on a deeper level, because I had to think carefully about each part’s purpose.
Reflection:
I’m happy I went through the process of refactoring, because now I see how much better it is when code is clean and organized. It makes future changes easier, it’s less stressful to maintain, and it even helps if someone else looks at your work.
Introduction:
For Project X, I made it a priority to apply version control throughout the development process.
What did I do:
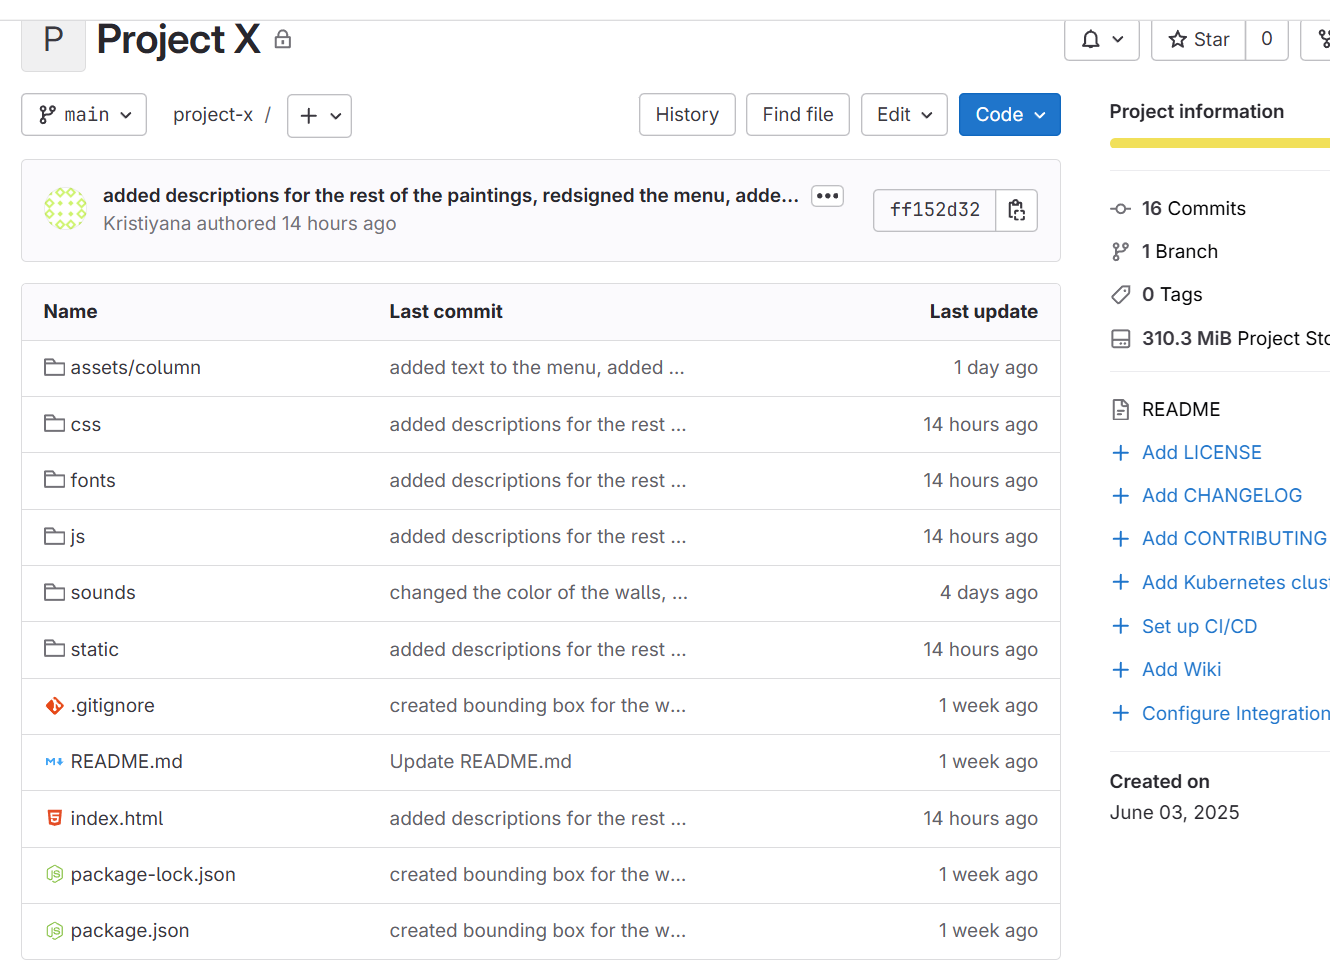
From the start, I created Git repository for the project and invited my teachers to it. This allowed them to track my progress and see the structure of my code. I also created a detailed README file to make the project easier to understand for the viewer. The README explains the purpose of the virtual gallery, its key features, how to download and run it, and credits for any external assets I used. For example, I included 3D models of columns from Sketchfab, and I credited the creator as required by their license.
How did it go:
Throughout the development, I pushed my changes to Git consistently. I made a habit of committing every time I finished working on a feature. I wrote detailed commit messages to document exactly what was changed.
What did I learn:
Using Git made my work well-structured. If something broke, I could easily go back to a previous version without losing hours of work.
Reflection:
A few months ago, I was not confident in working with Git. I was afraid of having merge conflicts and not being able to fix them. But mow I can say that I don’t have that fear no more and don’t experience difficulties while working with Git.Writing the README file was also a big step for me. Just a month ago, I had no idea how to write one or what to include. Now, I’m proud that I can explain my project clearly to others and make it accessible. I am happy from the growth I had and I will keep improving in the future.